
 Woohoo! I've finished another quilt! This is the most quilting I've done in years! :) I made this striped jelly roll quilt for my friend who just moved to Miami. Her birthday is coming up in August, and I thought maybe she could use a little beach quilt. It's also big enough to be a lap quilt if she needs something to cuddle with on the couch. It's about 45 wide x 60 long.
To make the stripes, I just sewed the strips of a jelly roll together and then cut them in to 5 1/2 inch "chunks." Then I sewed 3 of the "chunks" together to make the full strip. I had 2 chunks left over that I think I might use to make someone a pillow later on.
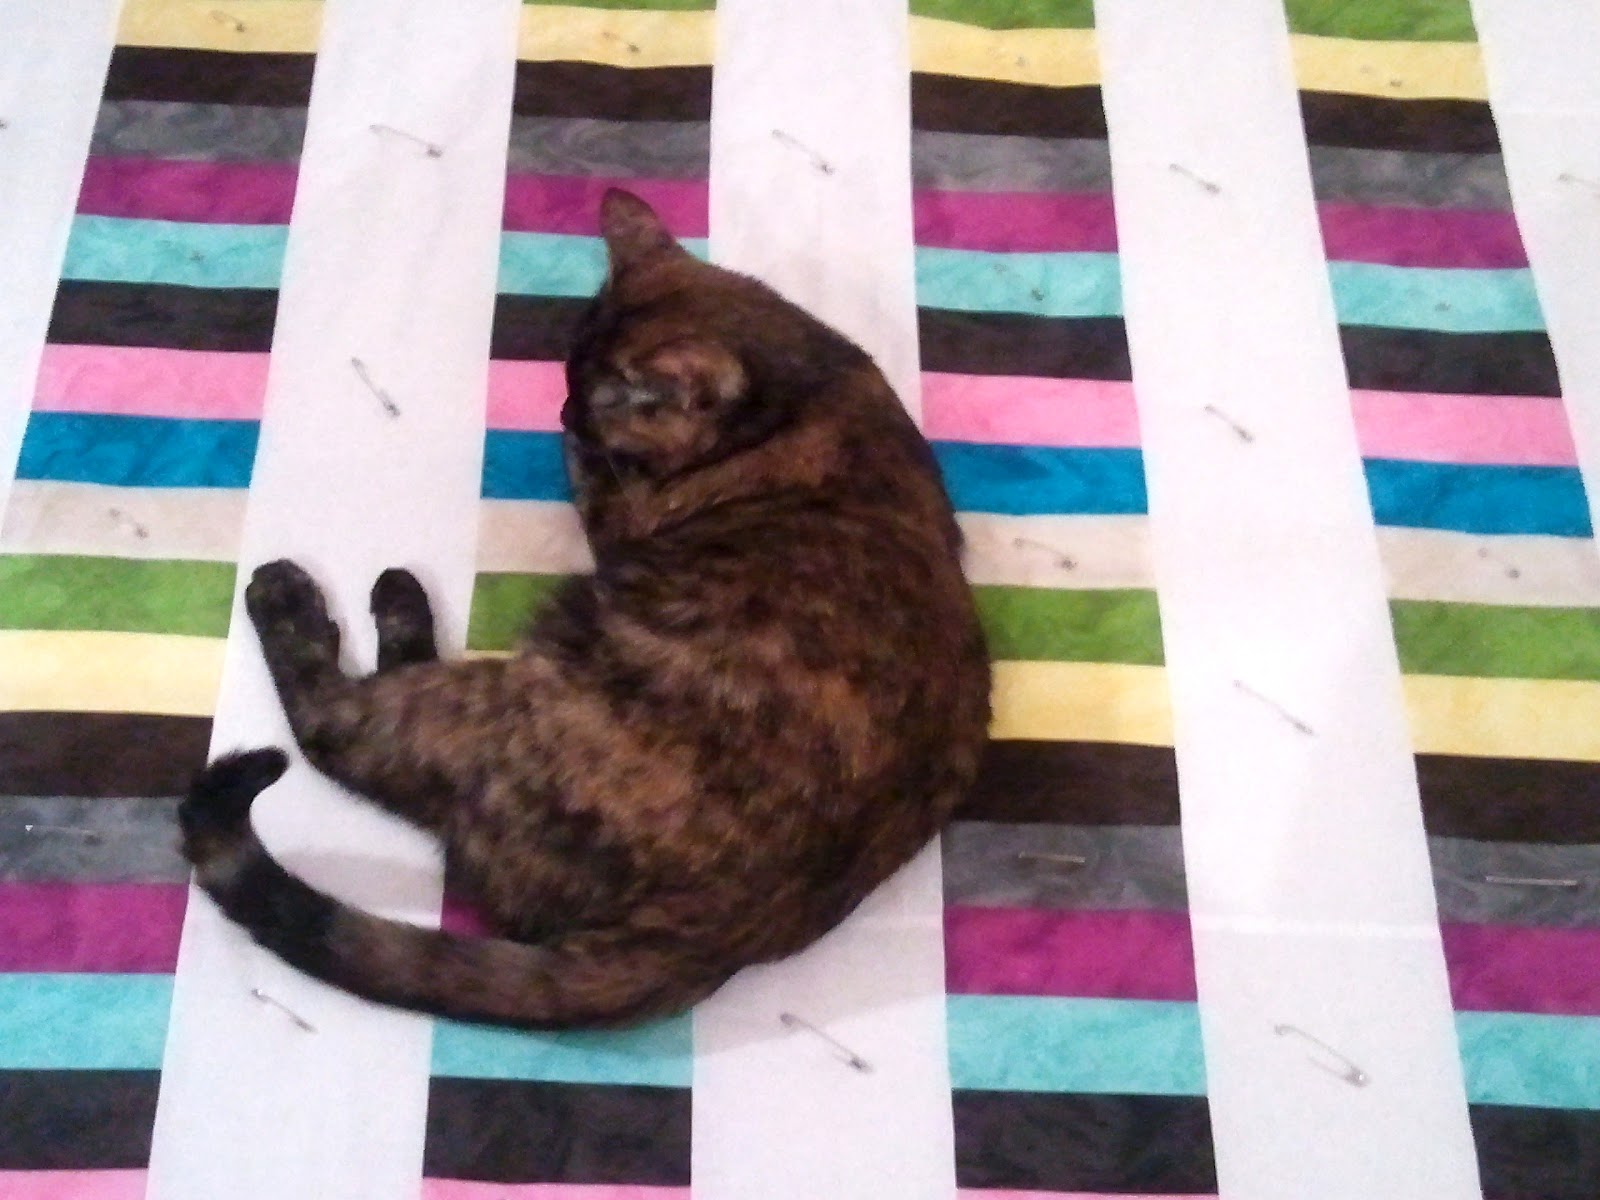 Basting this quilt went so much faster than my Mario Quilt. We didn't have to move the furniture around! But I did have to maneuver around the cats... They just love laying on whatever project I'm working on. Not to mention they like to paw at or bite at the pins. The one pictured here (Sasha) even bit and ripped a piece of tape off of the floor that was holding the backing fabric down! What a mischievous little cat!!
 I had lots of different FMQ designs run through my head before I started quilting this one. My top 3 choices were stippling, wavy lines, and loop-de-loops. The loop-de-loops won out because I didn't think stippling would stand out enough and I'm having too much trouble with my walking foot to do the wavy lines right now. I actually really like how it turned out with this FMQ pattern. The loop-de-loops kind of remind me of that bubbly seaweed (thank you Google for helping me find a picture!).

Here's a close-up of the quilting. See what I mean about the seaweed thing? (Maybe that's just all in my head? Either way I like it!) Maybe I'll use this again some day, but there are just so many good quilting designs to try that I don't want to repeat too often!
And now, to end the post, here are some more pictures (for your pure enjoyment) after the quilt came out of the dryer. It turned out so crinkly I just love it! Too bad I'm sending it away!!! :(


Check out that stray string I didn't catch by the binding in this last photo - whoops! I wonder if my friend will notice... (I bet it's not the only one. Haha!)
Happy crafting!!!


